For much of my life, makeup felt too feminine for me, even before I had the language to explain why. As I’ve become more confident in my identity as a nonbinary person, I’ve also become more open to experimenting—with painted nails, some women’s clothing, and makeup.
It’s funny how feeling more solid in who you are can give you room to try something new.
These days, I might wear a light no-makeup makeup look for a date, an event, or photo and video work for EveryQueer. Sometimes I just want a little tinted moisturizer for a farmers market and coffee run. I like an even complexion, a cute blush moment, and, when I’m going out, a little definition around my jaw.
I’m still a beginner. But I know how overwhelming it can feel to look at hundreds of products, shades, and brushes without knowing what goes where. This guide brings together what I’ve learned, straightforward application advice, and well-reviewed products to help you find a place to start.
What is masc makeup?
Masc makeup is makeup used to create or support a masculine-leaning look. That could mean fuller brows, more visible definition around the jaw, or a natural-looking base that evens out discoloration.
Trying it doesn’t automatically make you look more feminine. Depending on the products and placement, it can emphasize features you associate with masculinity. You can also simply cover a breakout because you feel like it.
For some people, those changes are gender affirming. Darker brows might feel exactly right to one person and too masculine to another. There’s no single correct result, and it’s okay to learn through trial and error.
This guide focuses on a subtle, minimally detectable look. Wearing bold lipstick, glitter, or a loud full face doesn’t make you any less masc.
First: moisturize your dang skin
One of the biggest things I’ve learned is how much moisturizing first helps my makeup look better. Before shopping for more coverage, give some attention to the skin underneath it.
A routine can be simple: gentle cleansing, moisturizer suited to your skin, and daytime sunscreen. You don’t need a shelf full of serums to start. Let your skincare settle before applying makeup. Apply moisturizer and sunscreen before makeup.
Use the best natural light available, ideally facing a window, and check your blending there. For this particular look, start with small amounts and add only where you want more. Skin still having texture is normal.
One exception to “less is more”: sunscreen. Follow its label’s application and reapplication directions. A few cosmetic drops of an SPF tint shouldn’t automatically be treated as full sun protection.
What order does makeup go on?
Here’s a straightforward sequence. Every makeup step is optional, and brows can happen earlier if you prefer. Generally, blend cream and liquid products before adding powder.
| Order | Product or step | What to put it on with |
|---|---|---|
| 1 | Moisturizer and daytime sunscreen | Clean hands; let layers settle |
| 2 | Skin tint, if you want overall evening-out | Fingers, a complexion brush, or a damp makeup sponge |
| 3 | Concealer where you want extra coverage | Small brush or fingertip; tap gently |
| 4 | Cream/liquid contour, bronzer, and blush, as wanted | Small blending brush, sponge, or fingers where the formula allows |
| 5 | A little setting powder where you want less shine | Small fluffy brush or puff; powder contour and blush also belong around this stage |
| 6 | Brow gel and optional pencil | Gel’s included spoolie; pencil for small hairlike strokes |
| 7 | Setting spray, if wanted | Follow the specific bottle’s instructions and allow to dry |
You can stop after tint. You can skip tint and only do brows. This is an order to help you navigate the products, not a checklist of everything you need.
Skin tint: a little evening-out
Skin tint or tinted moisturizer can reduce the appearance of uneven tone without the look of a heavier base. Choose a shade that blends into your skin, checking around the jaw and neck in daylight. Don’t assume a “universal” tint suits everyone equally.
Budget-friendly: e.l.f. Halo Glow Skin Tint SPF 50, $14. It offers buildable coverage with a dewy finish. Dewy means some visible glow, so consider whether that’s the finish you want.
My grab-and-go choice: Peter Thomas Roth Water Drench Sheer Tint SPF 45, around $56 for 50 ml. This is what I reach for when I want light evening-out and moisture before heading out for coffee.
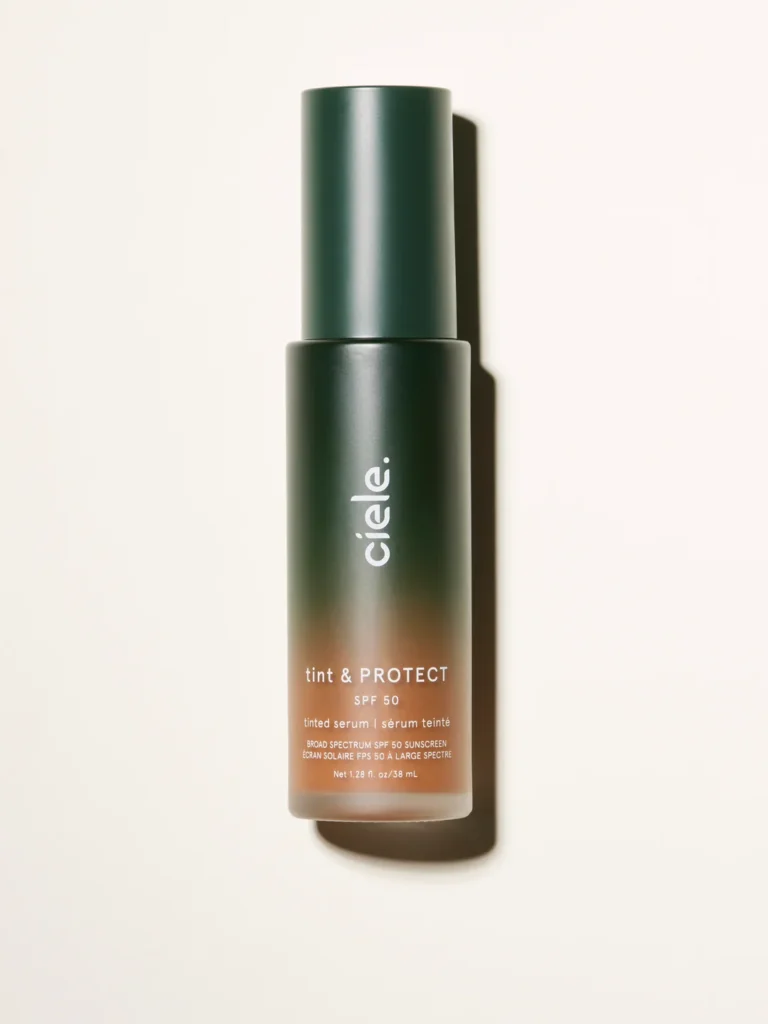
Another product I use: Ciele Tint & Protect SPF 50+, around $44. Each time I use it, I find I need less than I anticipated. Start small for cosmetic coverage rather than dispensing a generous amount straight away. It offers medium coverage, so expect more evening-out than with a very sheer tint.
Concealer: cover the thing you want to cover
If tint leaves an area you’d like more coverage on, add concealer there. For a blemish, match the surrounding skin rather than automatically choosing a lighter shade. Apply a little, then tap the edges so they disappear into the base. Covering discoloration won’t erase raised texture.
Budget-friendly: e.l.f. Hydrating Camo Concealer, $8. It has a satin finish, though it can crease. It’s full coverage, so a small amount is a sensible starting point.
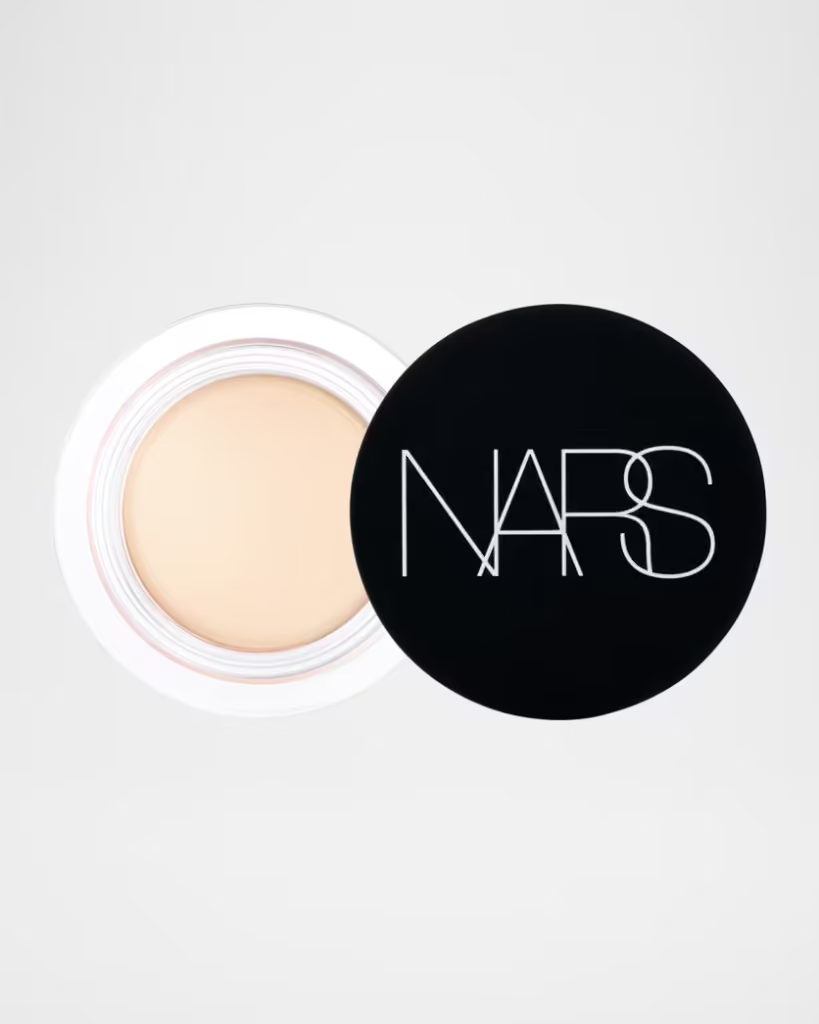
Worth the splurge: NARS Soft Matte Complete Concealer, $36. This pot concealer has a lightweight, blendable texture. Its soft-matte finish is an alternative to the e.l.f. liquid’s satin finish; the best choice depends on your skin and preferences.
Brows: fullness, shape, or just a little grooming
Tinted brow gel can add color and the appearance of fullness to existing hairs. Clear gel is an option when you only want to hold them in place. Brush a small amount through, following the shape you want. A pencil can fill a gap with individual strokes, but you don’t need both products to begin.
Budget-friendly: NYX Thick It. Stick It! Brow Gel, $13. It adds fullness, but it’s easy to create a more dramatic result than intended. Wipe excess from the brush and build gradually.
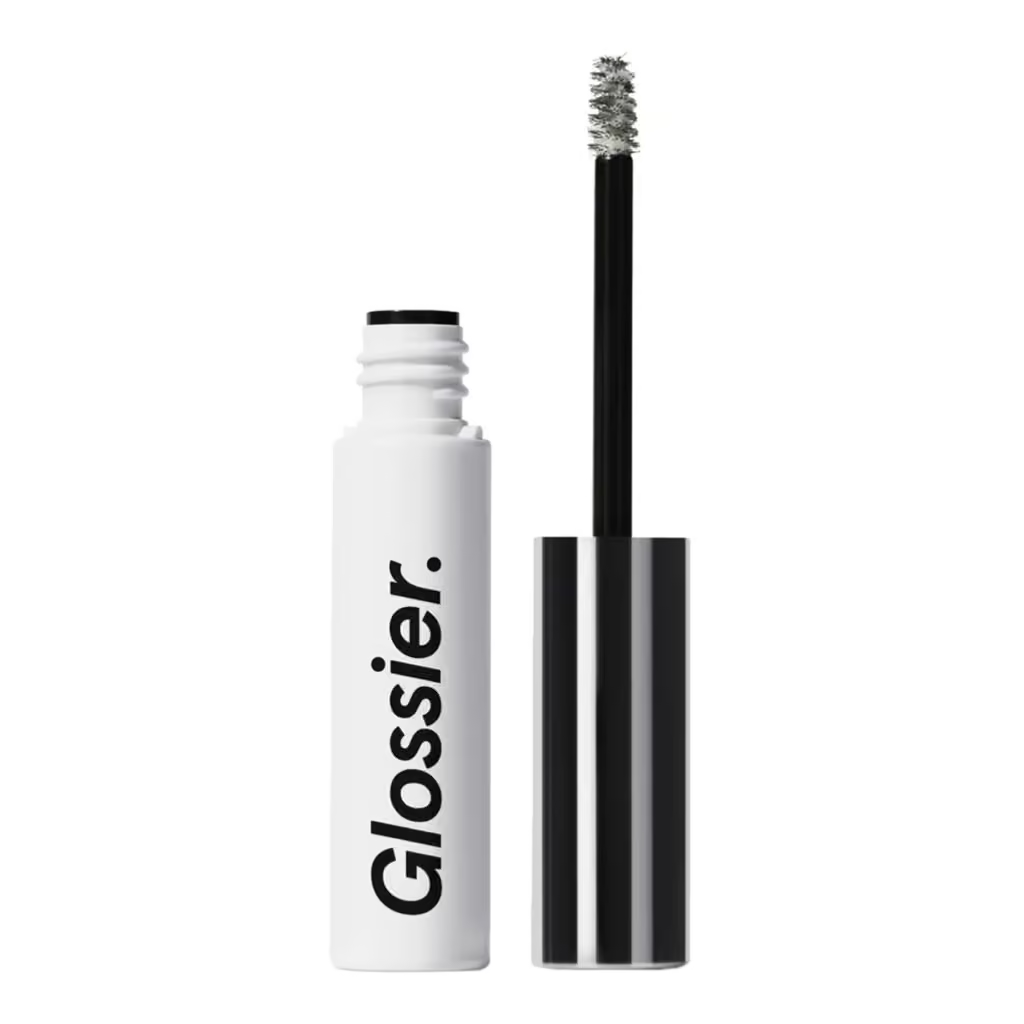
Worth the splurge: Glossier Boy Brow, $22. A grooming pomade for adding fullness and shaping existing brow hairs. Fullness and firm hold are different goals, so decide which you’re shopping for.
Contour: definition where you want it
Contour creates the appearance of shadow. Bronzer adds warmth. They can both have a place in your routine, but an orange-toned bronzer may not create the jaw definition you had in mind.
Choose contour depth and undertone based on your complexion. For subtle jaw definition, pick up a little on a brush, blend beneath the jaw’s edge, and check from the side as well as straight on. A hard stripe or a sudden change at the neck means more blending or less product may be needed. Placement changes the effect, so adjust in small steps.
Budget-friendly: NYX Wonder Stick Contour and Highlighter, $14. You can use the contour end without using the shimmer highlighter.
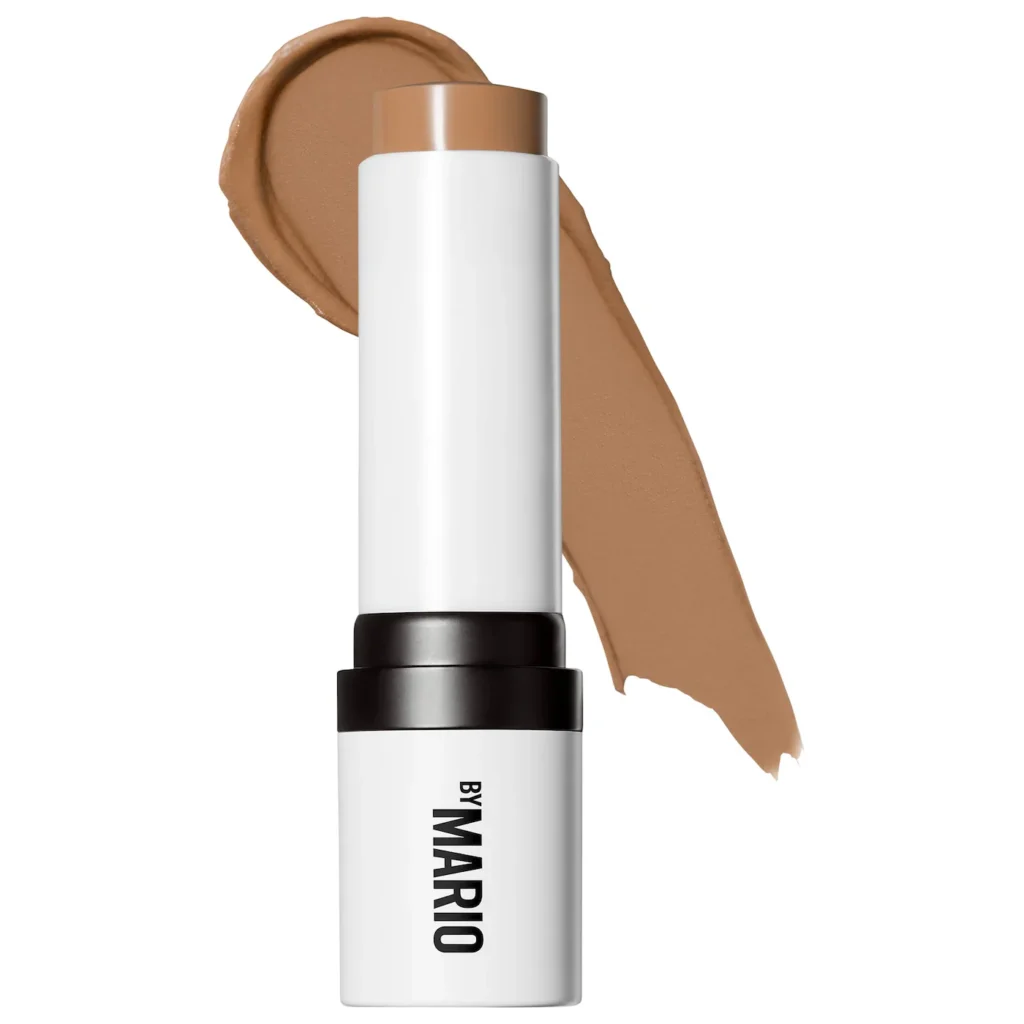
Worth the splurge: MAKEUP BY MARIO SoftSculpt Shaping Stick, $34. It includes a brush. Its matte finish makes it an option for definition without shimmer.
Blush: yes, a cute blush moment belongs here
I love a little sun-kissed color—the appearance of a light flush, achieved with makeup rather than an actual sunburn.
Blush doesn’t make a look less masc. Choose a color and placement you enjoy, with enough depth to show on your complexion. Rose, terracotta, brick, berry, and plum are possibilities. Try a small amount on the outer cheek and check the effect before adding more; placement doesn’t look identical on every face.
Budget-friendly: e.l.f. Camo Liquid Blush at Target, $8. This pigmented liquid blends well, but it’s easy to overapply. Put a tiny amount on your hand and pick up a little at a time.
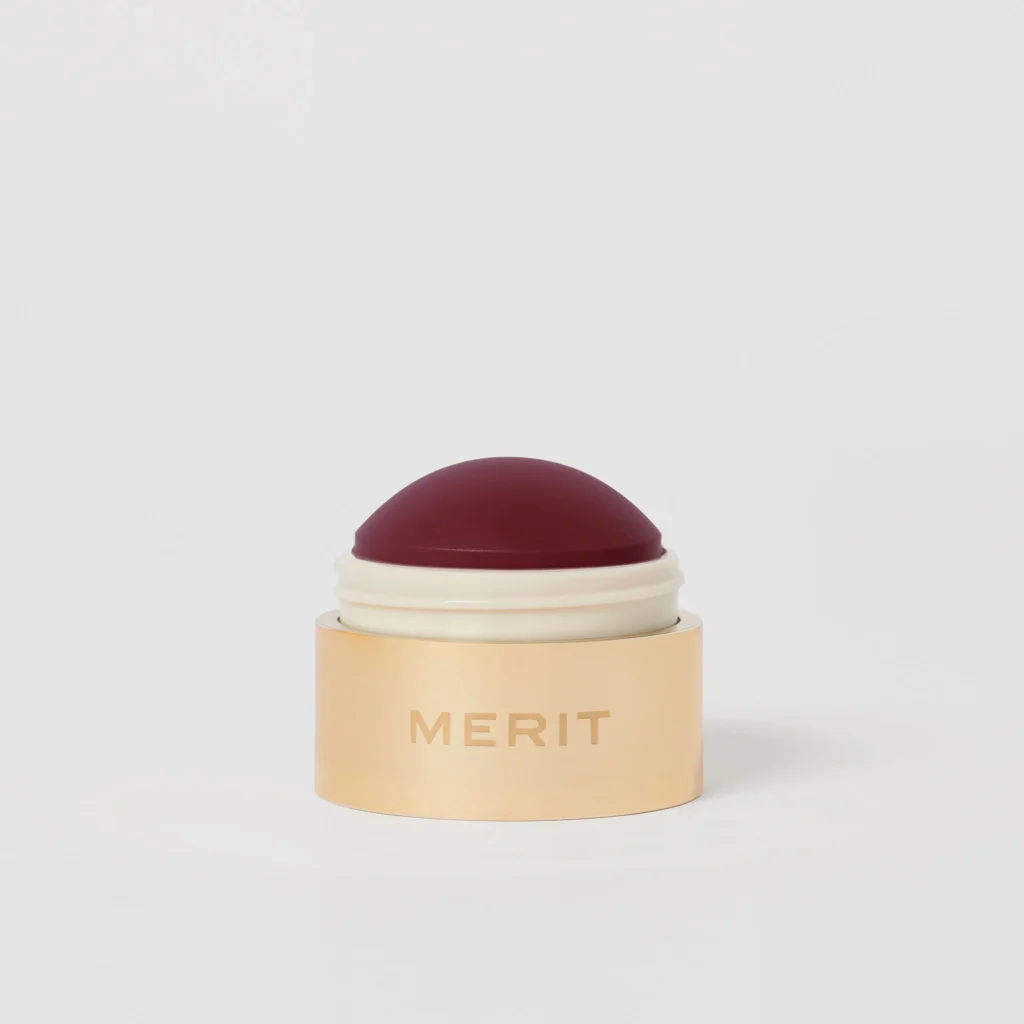
Worth the splurge: MERIT Flush Balm, $30. A buildable cream blush for adding a little color at a time. The understated brown-and-gold packaging also fits the brief for something visually restrained.
Anti-shine: powder only where you want it
You don’t have to make your whole face matte. If only your forehead or nose looks shinier than you like, focus there. Press or lightly brush on a small amount of powder. For touch-ups, blotting papers are another option for removing surface oil before deciding whether you need more product.
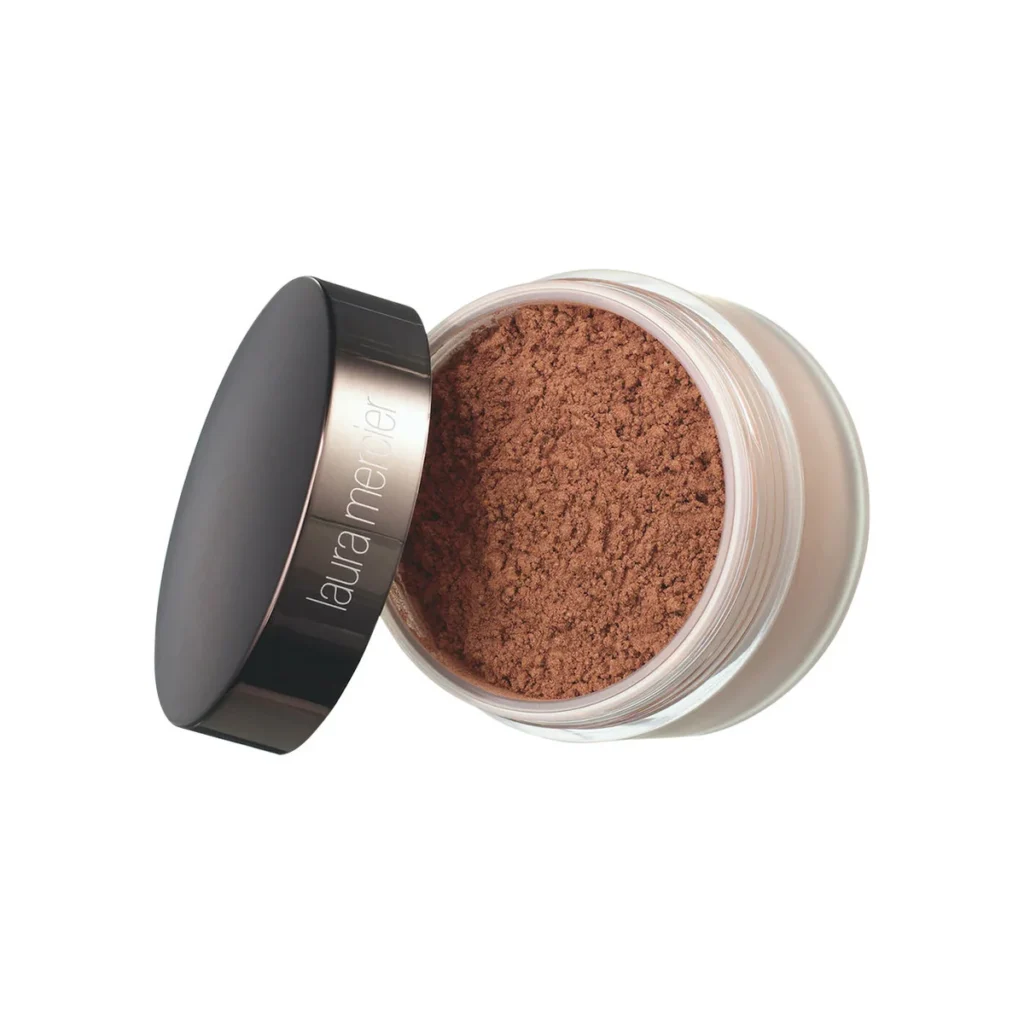
Budget-friendly: Maybelline Fit Me Loose Finishing Powder. Worth the splurge: Laura Mercier Translucent Loose Setting Powder. Both are options for setting makeup and reducing visible shine. Select a suitable shade; “translucent” doesn’t mean any version will disappear equally well on every complexion. Loose powder can be messy, so dispense a little into the lid rather than loading the brush directly from the jar.
Setting spray: choose the finish you like
A setting spray can help finish the look and extend wear, depending on the formula. Some are matte; others add glow. Follow the specific product’s instructions rather than assuming every mist works the same way.
Budget-friendly: NYX Matte Finish Setting Spray, $10. An affordable option for a matte finish and shine control.
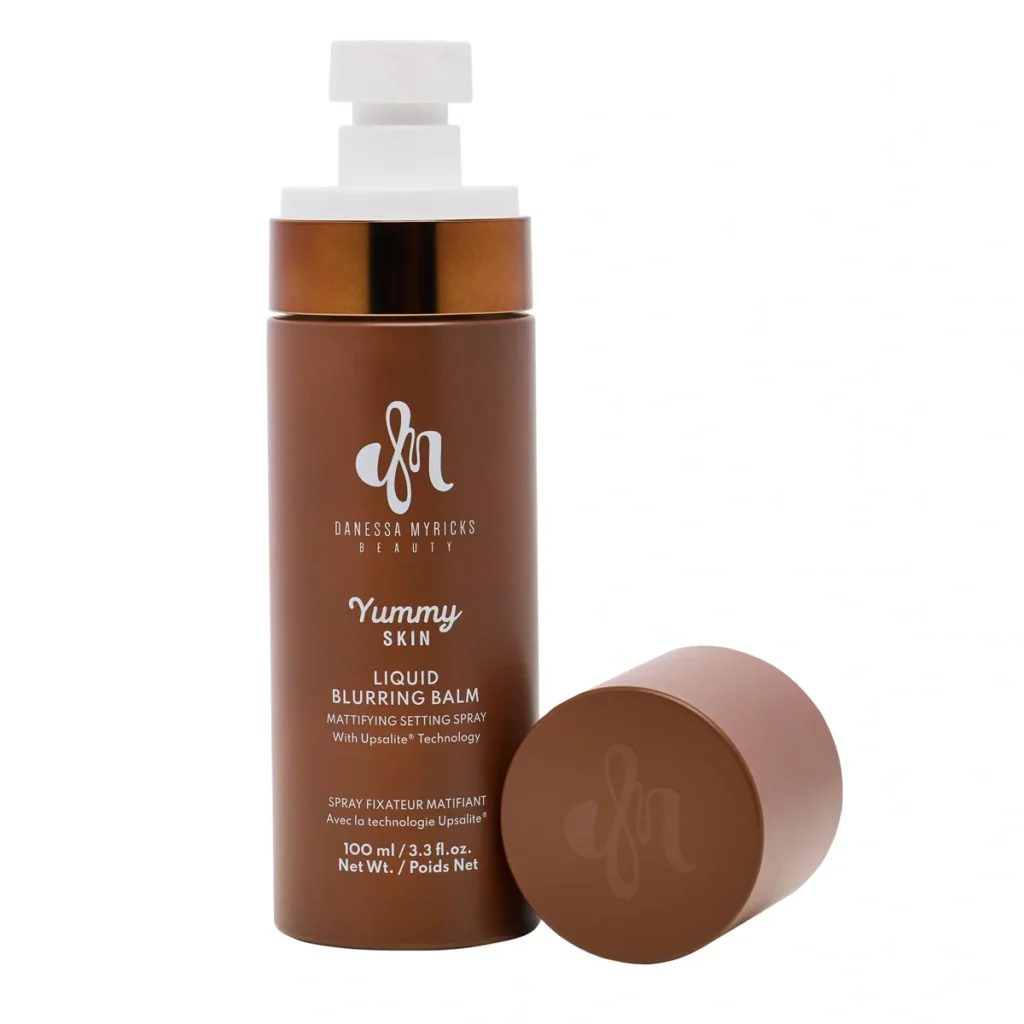
My choice: Danessa Myricks Yummy Skin Liquid Blurring Balm Mattifying Setting Spray, $36 for 100 ml. My explanation for liking it is simple: my face doesn’t look shiny.
You don’t need every brush—or every product
A makeup sponge was one of the tools that made a difference for me. For a Beautyblender-style sponge, wet it, squeeze out excess water, and bounce it gently against the skin rather than drag. Wash it after use and let it air-dry in a ventilated spot.
Fingers may be all you need for your chosen tint or cream blush. If you buy powder, a small fluffy brush is useful; if you want precise spot coverage, a small concealer brush can help. Buy around what you use rather than starting with a huge set.
Packaging counts, too. There’s nothing wrong with bright pink or glitter, but you’re allowed to want straightforward names and bottles that feel at home among your things. Check the individual product rather than assuming you need makeup marketed “for men.”
Start with one thing you’re curious about. Spend an amount you feel comfortable experimenting with. Try it in good light, see how it feels, and adjust. You’re allowed to enjoy the process before you know exactly what you’re doing.